
Goal
Add and configure a new content type Vendor.
Prerequisite knowledge
Section 2.3, “Concept: Content Entities and Fields”
Site prerequisites
You need to have a plan in place for your content structure. See Section 2.5, “Planning your Content Structure”.
Steps
- In the Manage administrative menu, navigate to Structure > Content types (admin/structure/types). The Content types page appears showing all the available types of content. Note that the names and descriptions of the content types that were provided by your installation profile are shown in English on this page; see Section 2.7, “Concept: User Interface, Configuration, and Content translation” for an explanation.
Click Add content type. The Add content type page appears. Fill in the fields as shown below.
Field name Explanation Example value Name Name of the content type Vendor Description Explain the use of the content type Information about a vendor 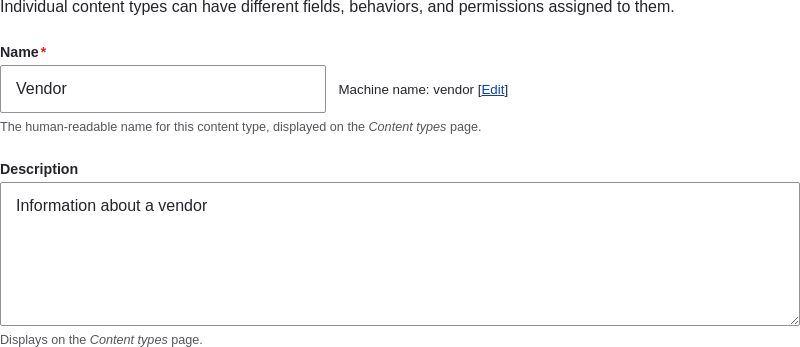
Under Submission form settings, configure the form that is used for creating and editing content of this type. Fill in the fields as shown below.
Field name Explanation Example value Title field label Label of the Title field that is shown when editing or creating content of this type. Vendor name Preview before submitting Option to choose whether you should preview the content before submitting. Optional Explanation or submission guidelines Instructions for creating or editing content. (Leave blank) 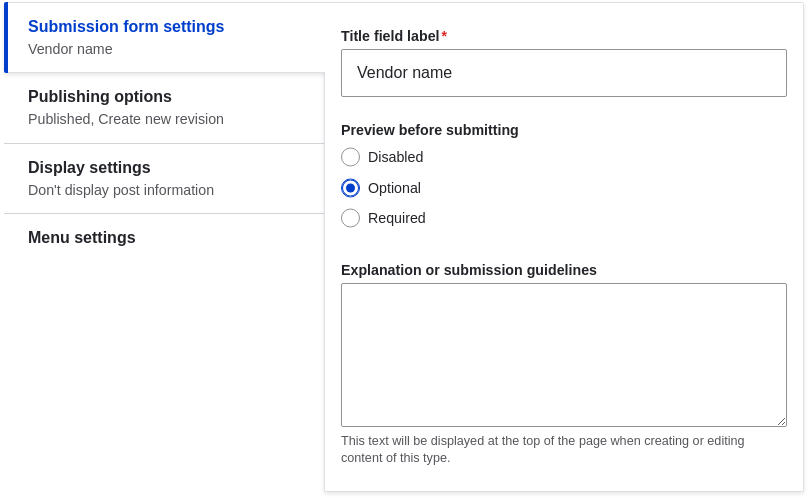
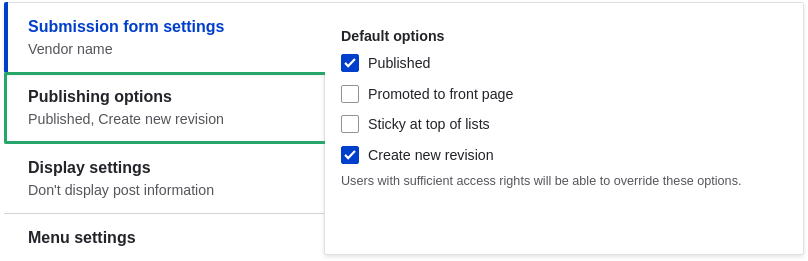
Under Publishing options, decide on default options for new content of this type. Fill in the fields as shown below.
Field name Explanation Example value Published Make the content item published by default. Checked Promoted to front page In a default website, this setting can be used to show content on the homepage. Unchecked Sticky at top of lists In a default website, this setting can be used to keep content on top of a list. Unchecked Create new revision Create a new revision each time the vendor is being edited. Checked Changing these settings does not affect the content items that have already been created.
Under Display settings, decide if the author and publication date will be visible in the content item. Fill in the fields as shown below.
Field name Explanation Example value Display author and date information Display the author username and publication date on each vendor page. Unchecked 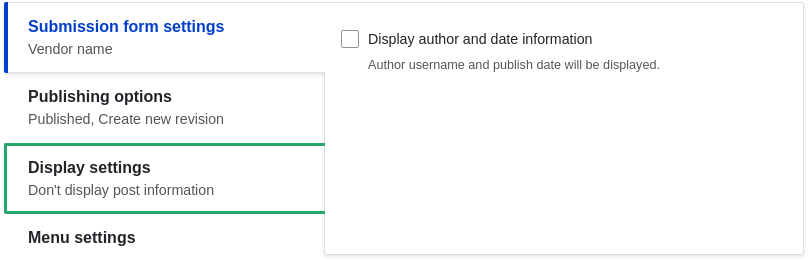
Under Menu settings, fill in the fields as shown below.
Field name Explanation Example value Available menus Menus that this type of content can be added to. Vendors do not need to appear in menus, so uncheck all menu options. Unchecked 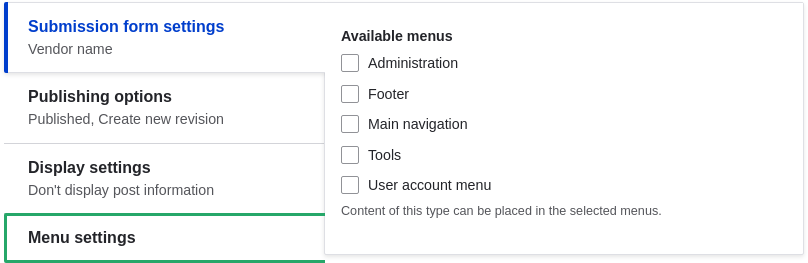
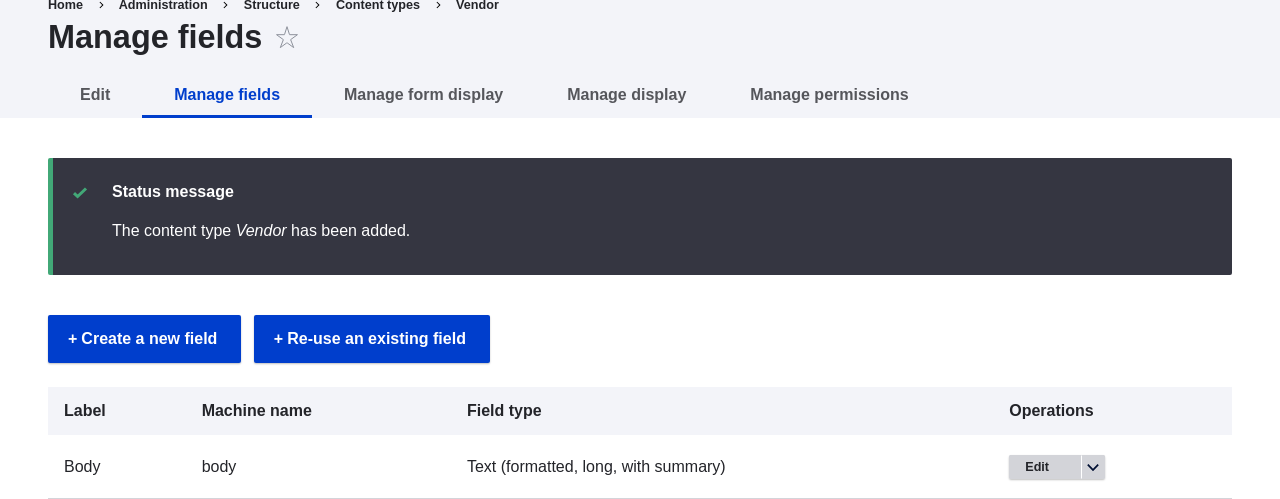
Click Save and manage fields to save the content type. The Manage fields page appears that allows you to add fields to the content type. See Section 6.3, “Adding Basic Fields to a Content Type”
Follow the same steps to create a content type for recipes. Example values for the fields in the forms, where they are different from the steps above:
Field name Example value Name Recipe Description A recipe submitted by a vendor Submission form settings - Title Recipe name
Expand your understanding
- Section 6.3, “Adding Basic Fields to a Content Type”
- Install and configure the contributed Pathauto module so that content items get automatically generated URLs/path aliases. See Section 5.1, “Concept: Paths, Aliases, and URLs” for more on URLs within your site, Section 11.1, “Finding Modules” for instructions on finding contributed modules, and Section 11.3, “Downloading and Installing a Module from Drupal.org” for instructions on downloading and installing contributed modules.