Goal
Install the core software and create the admin account by running the included installer.
Site prerequisites
Section 3.1, “Preparing to Install”
Note that if you followed the instructions in Section 3.5, “Setting Up an Environment with DDEV” the core software was already installed. If you wish to install the core software again, you can run the command ddev drush sql:drop and then follow the instructions below.
Steps
- If you are using a 1-click install from a hosting provider or demo site, you will most likely see some or all of the following screens as part of the installation process. If you uploaded the core files manually or using Composer, to start the installer, open a browser and visit the URL that you set up for your hosting.
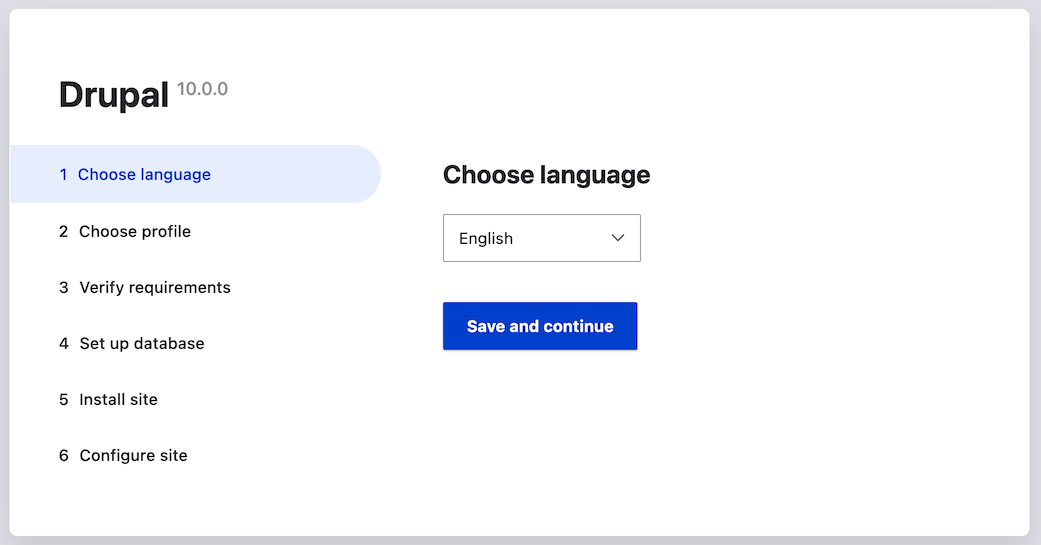
Select a language on the first page of the installer; for example, English. You could optionally choose from any of the other listed languages. The language files for the chosen language will be downloaded and installed so that the rest of the installation process can be finished in the chosen language. After choosing a language, click Save and continue.
Select an installation profile. Installation profiles provide site features and functions for a specific type of site as a single download containing the core software, contributed modules, themes, and pre-defined configuration. Core contains two installation profiles. Select the core Standard installation profile. Click Save and continue.

- The next step in the installer will verify that your system meets the minimum requirements. If it does not, you’ll be presented with an outline of what needs to be corrected in order to proceed. If it does, the installer will automatically advance to the next step.
Provide details of the database you created in the Section 3.1, “Preparing to Install” chapter. Then click Save and continue.
Field name Explanation Value Database name The custom name given to the database drupal Database username Username created databaseUsername Database password Password chosen 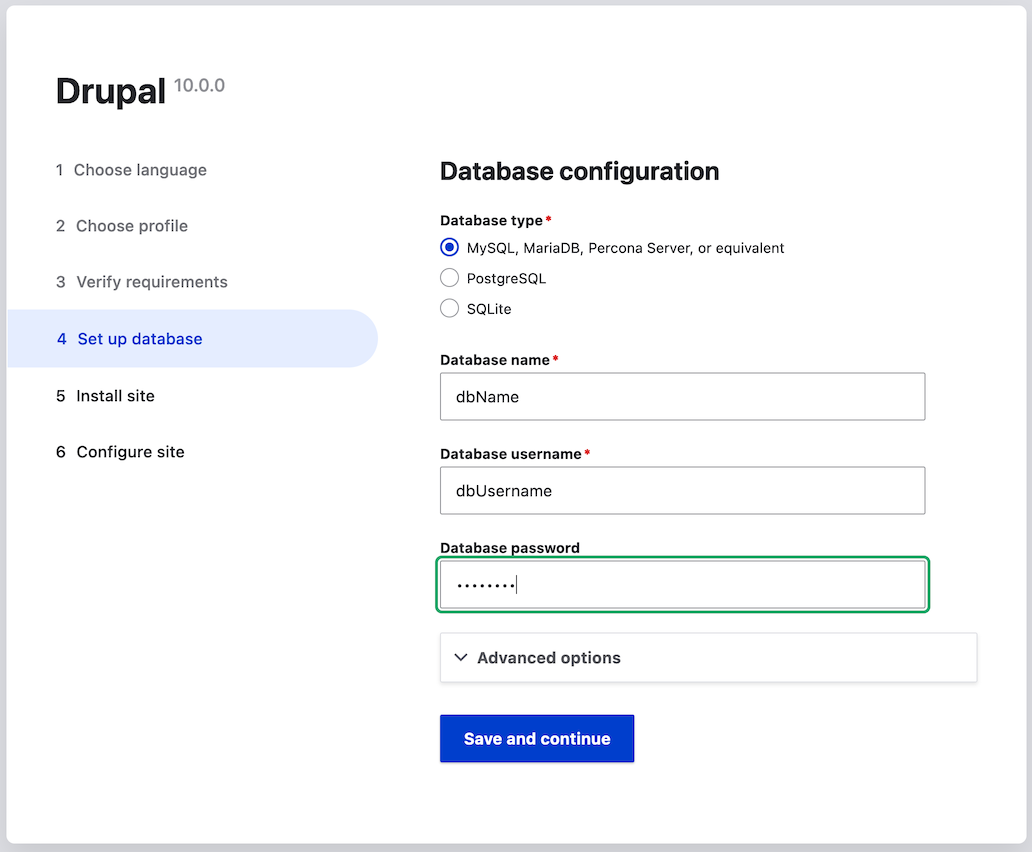
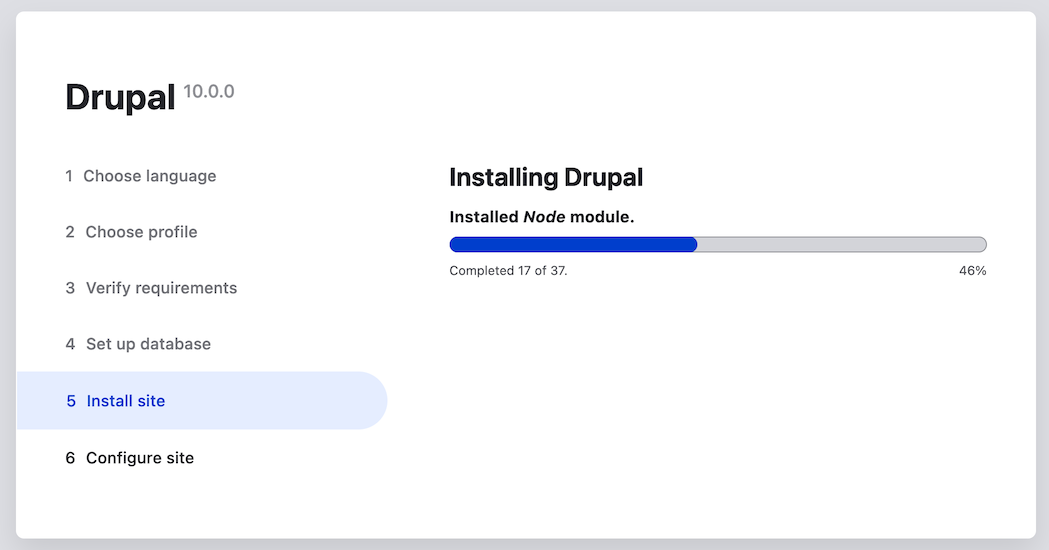
The next step will display a progress bar under the heading Installing Drupal. After the installer has completed, it will automatically advance to the next step.
The next step is to configure some basic information about your new site (also notice if there is a warning about file permissions, for a later step). Note that the user account you create in this step is the site’s admin account. See Section 7.2, “Concept: The User 1 Account” for important information about this unique account. You can safely name this account "admin", and make sure to choose a secure and unique password.
Fill in the form with the following information:
Field name Explanation Value Site name The name chosen for the site Anytown Farmers Market Site email address The email associated with the site [email protected] Username The designated user’s credentials admin Password The password chosen Confirm password Repeat the password Email address The user’s email [email protected] The remaining fields can likely be left at their default values.
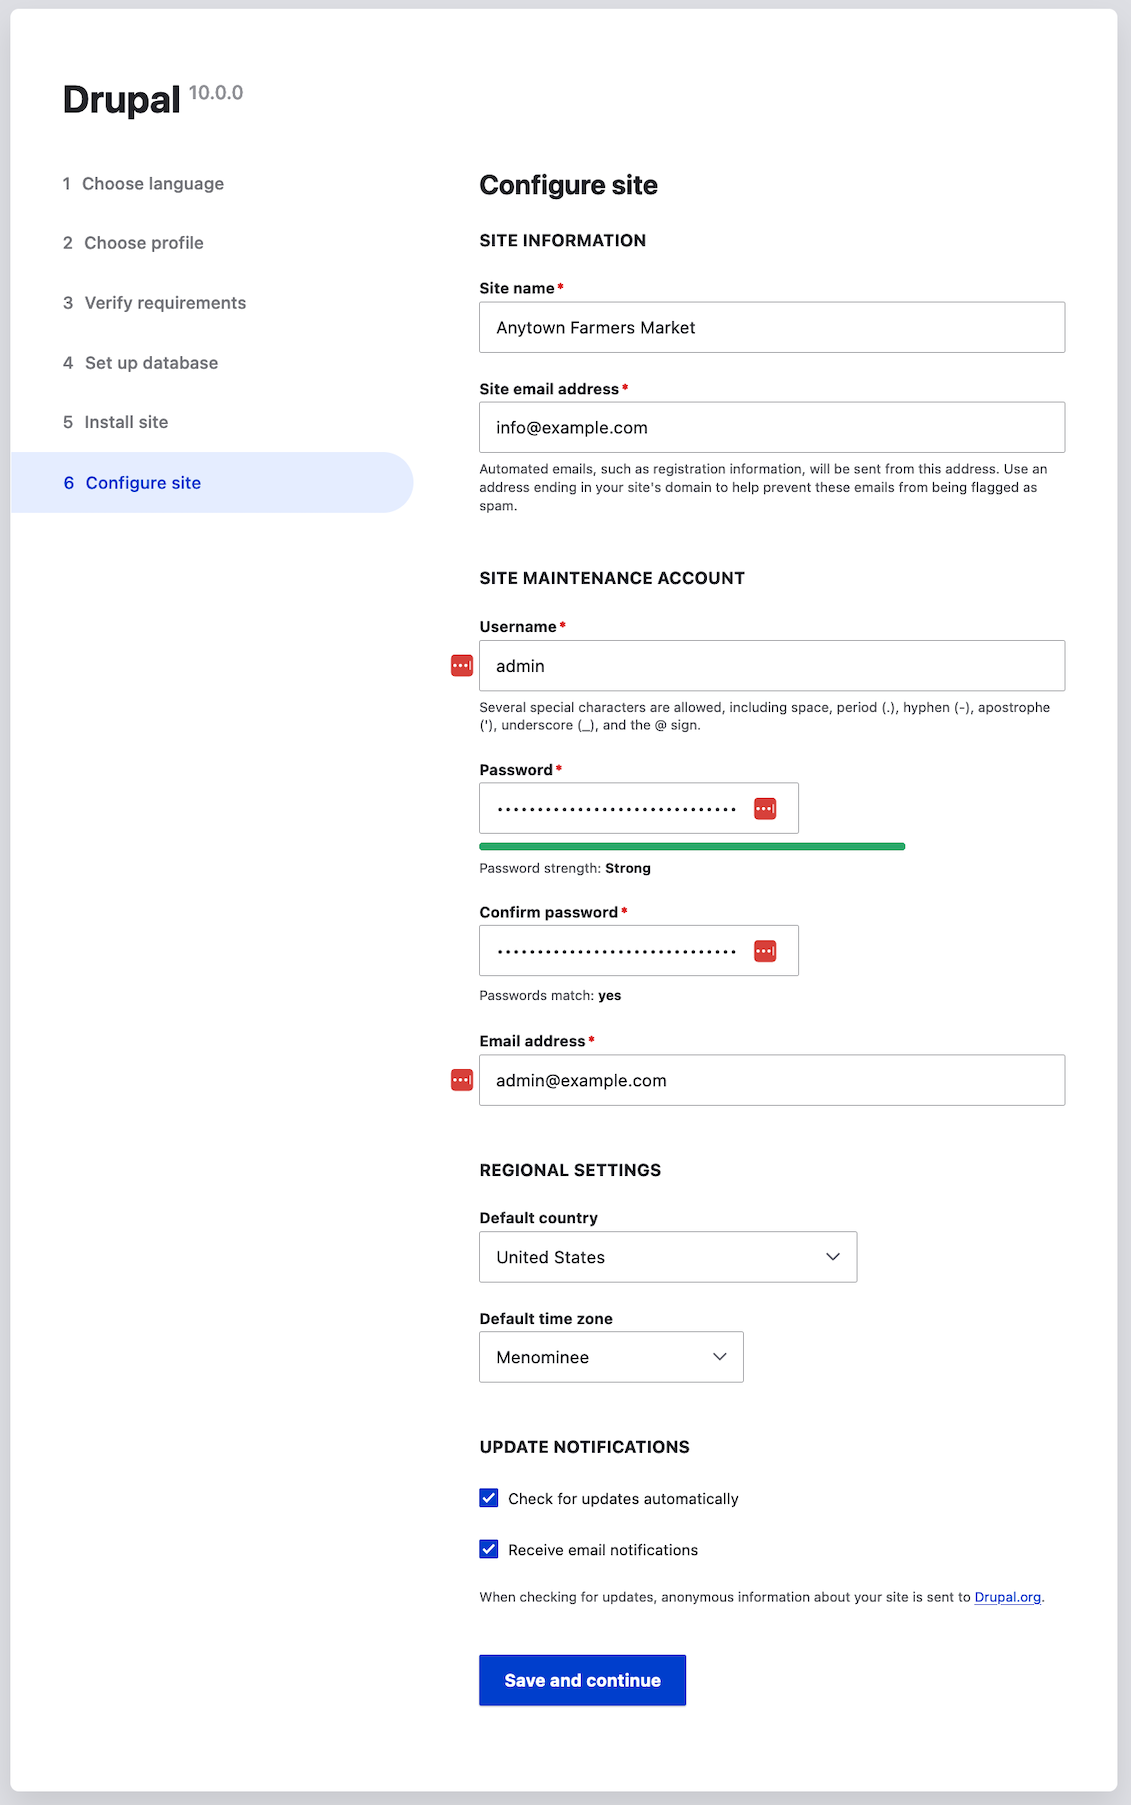
- Click Save and continue.
You will be redirected to the front page of your new site and you should see the message Congratulations, you installed Drupal! displayed at the top of the page.
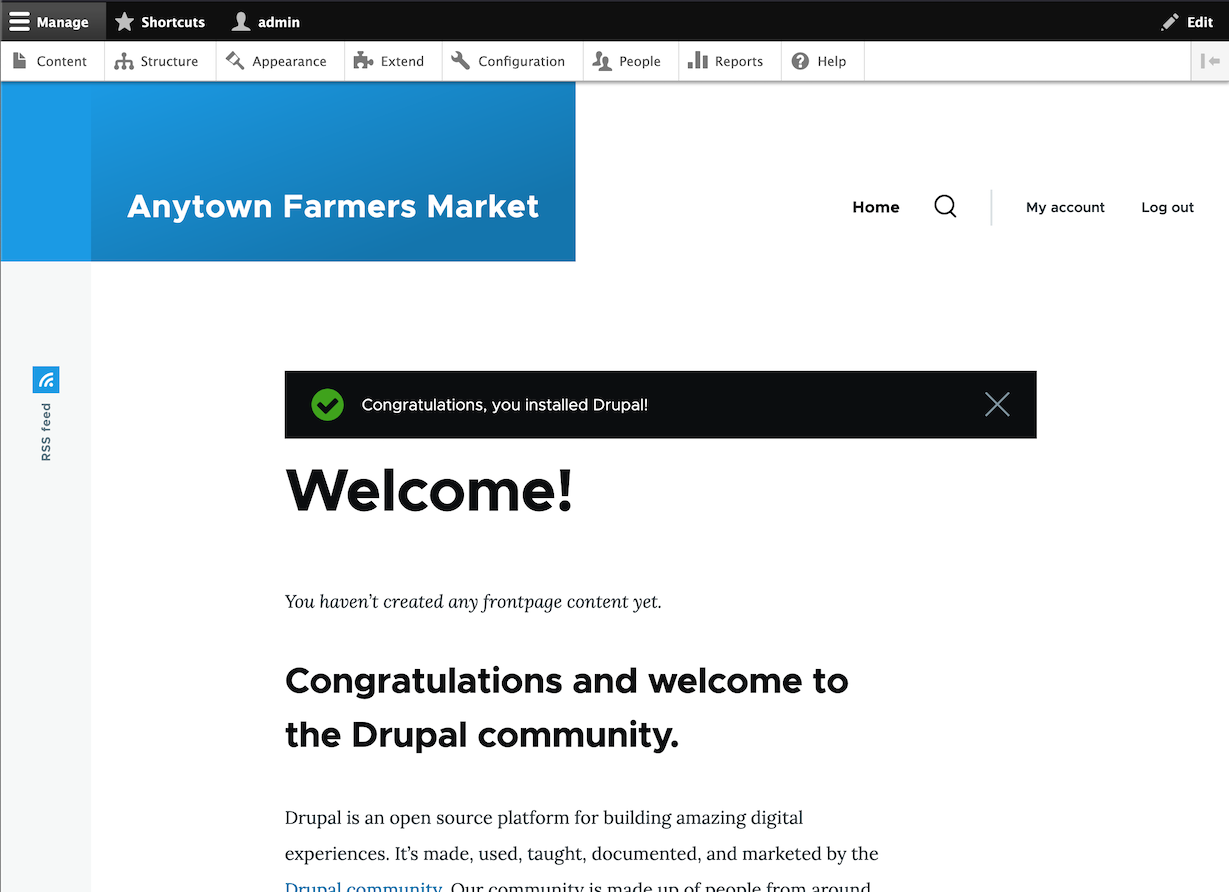
- You may have seen a warning in the Configuration step about file permissions, and you may continue to see this warning until you fix the permissions. To avoid the warning and make your site more secure, change the permissions on the sites/default directory and the sites/default/settings.php file so that they are read-only (you may need to consult your hosting company documentation about how to do that).
Expand your understanding
Alternatively, you can install the software using Drush instead of the UI. Use the following Drush command, from inside the directory that you downloaded the software to, where DB_NAME, DB_USER and DB_PASS are your database’s credentials:
drush site:install standard --db-url='mysql://DB_USER:DB_PASS@localhost/DB_NAME' --site-name=example
Check the Status Report to see if there are any problems with the installation. See Section 12.5, “Concept: Status Report”.
Related concepts
- Section 11.7, “Concept: Development Sites”
- Section 3.3, “Concept: Additional Tools”
Videos
Additional resources
Attributions
Written and edited by Joe Shindelar at Drupalize.Me, and Jojy Alphonso at Red Crackle.